SLV – Schweißtechnische Lehr- und Versuchsanstalten


Metallography
In our metallographic laboratory with modern equipment in compliance with the applicable safety regulations, it is possible to represent and characterise the macrostructures and the microstructures as well as their compositions on all metallic materials, on welded, brazed/soldered and adhesive-bonded joints as well as on coating systems.
The representation of a prepared macrosection, at a maximum magnifying power of 10:1, makes it possible to visualise the macrostructure over the cross section under investigation. The existing weld quality can be checked according to the relevant standards (e.g.: DIN EN ISO 5817 or DIN EN ISO 10042). The detailed representation of imperfections (segregations, weld imperfections such as cracks, lack of fusion etc.) is guaranteed too.
The preparation of a microsection makes it possible to represent and evaluate structural compositions of a material in a light microscope. The microstructures can be represented at magnifying powers between 12.5 times and 1,000 times. Conclusions can be drawn about the type of material manufacture, individual material properties, the existence of heat treatments and the occurrence of the detected weld imperfections.
On microsections, the material grain size (e.g. DIN EN ISO 643 or DIN EN ISO 2624) and degree of purity (DIN 50602 or DIN EN ISO 10247) of metallic materials can also be determined according to various methods and standards.
In the field(s) of research and/or development with very small components such as in electronics or also with very thin wire joints and the associated troubleshooting, it is necessary to carefully work towards the desired section plane. Here, this section plane is mostly hidden and is only represented on drawings or radiographs. This targeted preparation can be made by our experienced personnel.
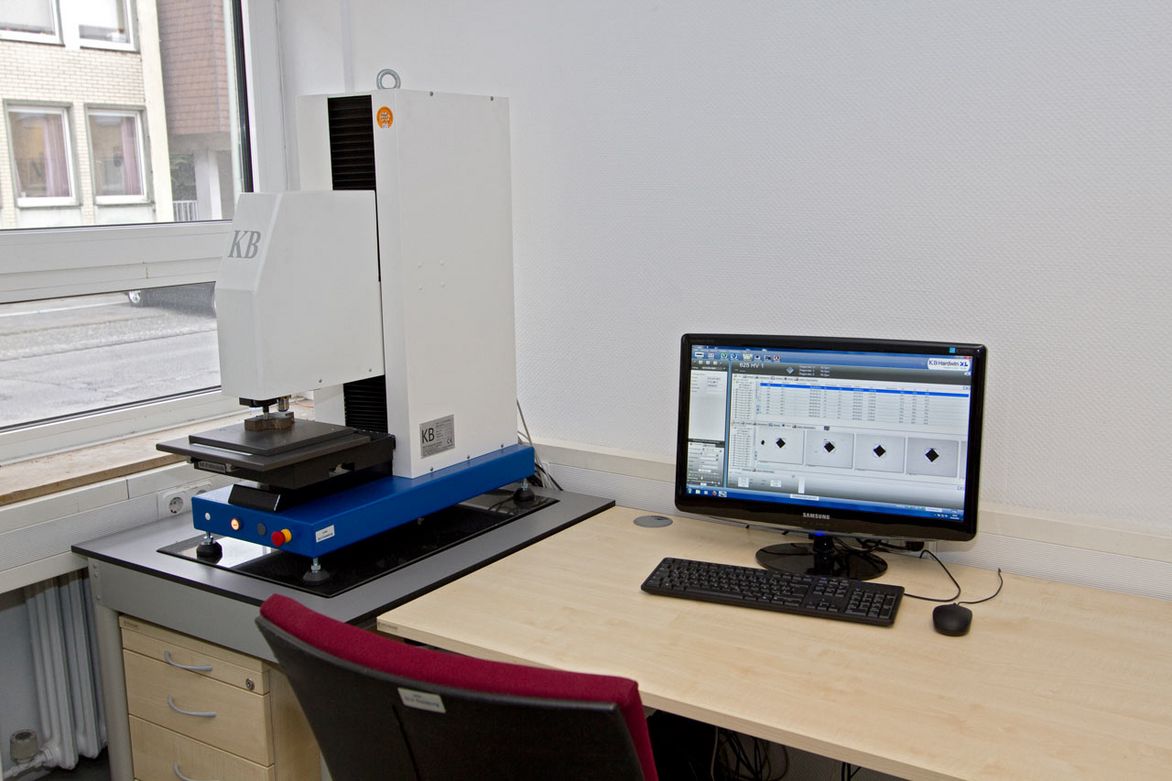
With our hardness testing devices, we can determine hardness values according to various standards. In addition to individual hardness values, it is possible to record hardness traverses and measuring grids.
A fully automatic Vickers hardness tester as well as a manual device in the load range from HV 0.01 to HV 10 are at our disposal for this purpose. The hardness measurements can be taken on metallographically prepared macrosections and microsections. If you need hardness values according to Rockwell or Brinell, we can determine these on a manual device too (see DT).
One cost-favourable way of establishing the casting conditions of steels is to take a sulphur print according to Baumann. This print technology makes it possible to detect the sulphur distribution in the steel across the material thickness. In the material core, particularly old steels manufactured by means of unkilled casting exhibit segregration zones which may exhibit not only, in part, very high sulphur contents but also phosphorus. Since these elements exert embrittling effects, they restrict the weldability. Without any knowledge of the presence of a segregation, the material cannot be quantified reliably by means of spark spectral analysis which is usually carried out just a few millimetres below the material surface. The sulphur print according to Baumann therefore constitutes a quick and reliable procedure for the detection of sulphur segregations.
Contact person
SLV Berlin-Brandenburg
- Matthias Pöge
- +49 30 45001-113
- matthias.poege(at)slv-bb.de
SLV Fellbach
- Daniel Rotaru
- +49 711 57544-48
- office(at)slv-fellbach.de
SLV Hannover
- Karsten Schnoy
- +49 511 219 62-67
- schnoy(at)slv-hannover.de
SLV Mannheim
- Michael Schubert
- +49 621 3004 122
- schubert(at)slv-mannheim.de
SLV München
- Michael Dey
- +49 89 126802-12
- dey(at)slv-muenchen.de
SLV Saarbrücken
- Georg Schambil
- +49 681 58823-48
- schambil(at)slv-saar.de


